Nmap Scans and Network Traffic Analysis for Cybersecurity


This guide explores practical techniques for using Nmap to perform network scans, analyzing scan traffic with Wireshark, and leveraging Dumpcap for efficient data capture—ideal for cybersecurity professionals seeking actionable insights.

Introduction
This guide provides a detailed tutorial on using Nmap for network scanning and analyzing network traffic using Wireshark. You'll learn practical steps for identifying open ports, analyzing different scan types, and troubleshooting network issues with packet captures.
Part 1: Using Nmap for Network Scanning
Step 1: Install Nmap
Before you can use Nmap, ensure it is installed. Use the following commands based on your operating system:
- Linux (Debian-based):
Bash
sudo apt update
sudo apt install nmap- Windows: Download and install Nmap from Nmap's official site.
Step 2: Basic Nmap Commands
- Scan a single IP address:
This command scans a specific host (IP address) for open ports. It's the simplest type of scan.
Bash
nmap <target-ip>- Scan a range of IPs:
You can scan a range of IP addresses to see which devices are active within that range.
Bash
nmap 192.168.1.1-254- Scan with service detection:
The-sVflag tells Nmap to also identify the version of the services running on the open ports. This can help in identifying vulnerabilities.
Bash
nmap -sV <target-ip>- Scan using OS detection:
The-Oflag attempts to determine the operating system of the target machine based on the network response.
Bash
nmap -O <target-ip>Part 2: Understanding Scan Types in Nmap
SYN Scan (Stealth Scan)
- Purpose: This scan is known as a "half-open" scan. It doesn't complete the full TCP handshake, which can make it harder to detect by firewalls or intrusion detection systems (IDS).
- How it works: It sends a SYN packet (part of the TCP handshake) to a port. If the port is open, the target responds with a SYN-ACK. Nmap then sends an RST (reset) to terminate the connection before it fully opens.Command:
Bash
nmap -sS <target-ip>-sS: This flag initiates the SYN scan.
Connect Scan (Full Connection)
- Purpose: A full TCP handshake is completed, which is easier to detect but more reliable than the SYN scan.
- How it works: Nmap sends a SYN packet to initiate the connection, waits for a SYN-ACK response, and then completes the handshake by sending an ACK packet.Command:
Bash
nmap -sT <target-ip>-sT: This flag initiates the Connect scan, where the full TCP handshake is completed.
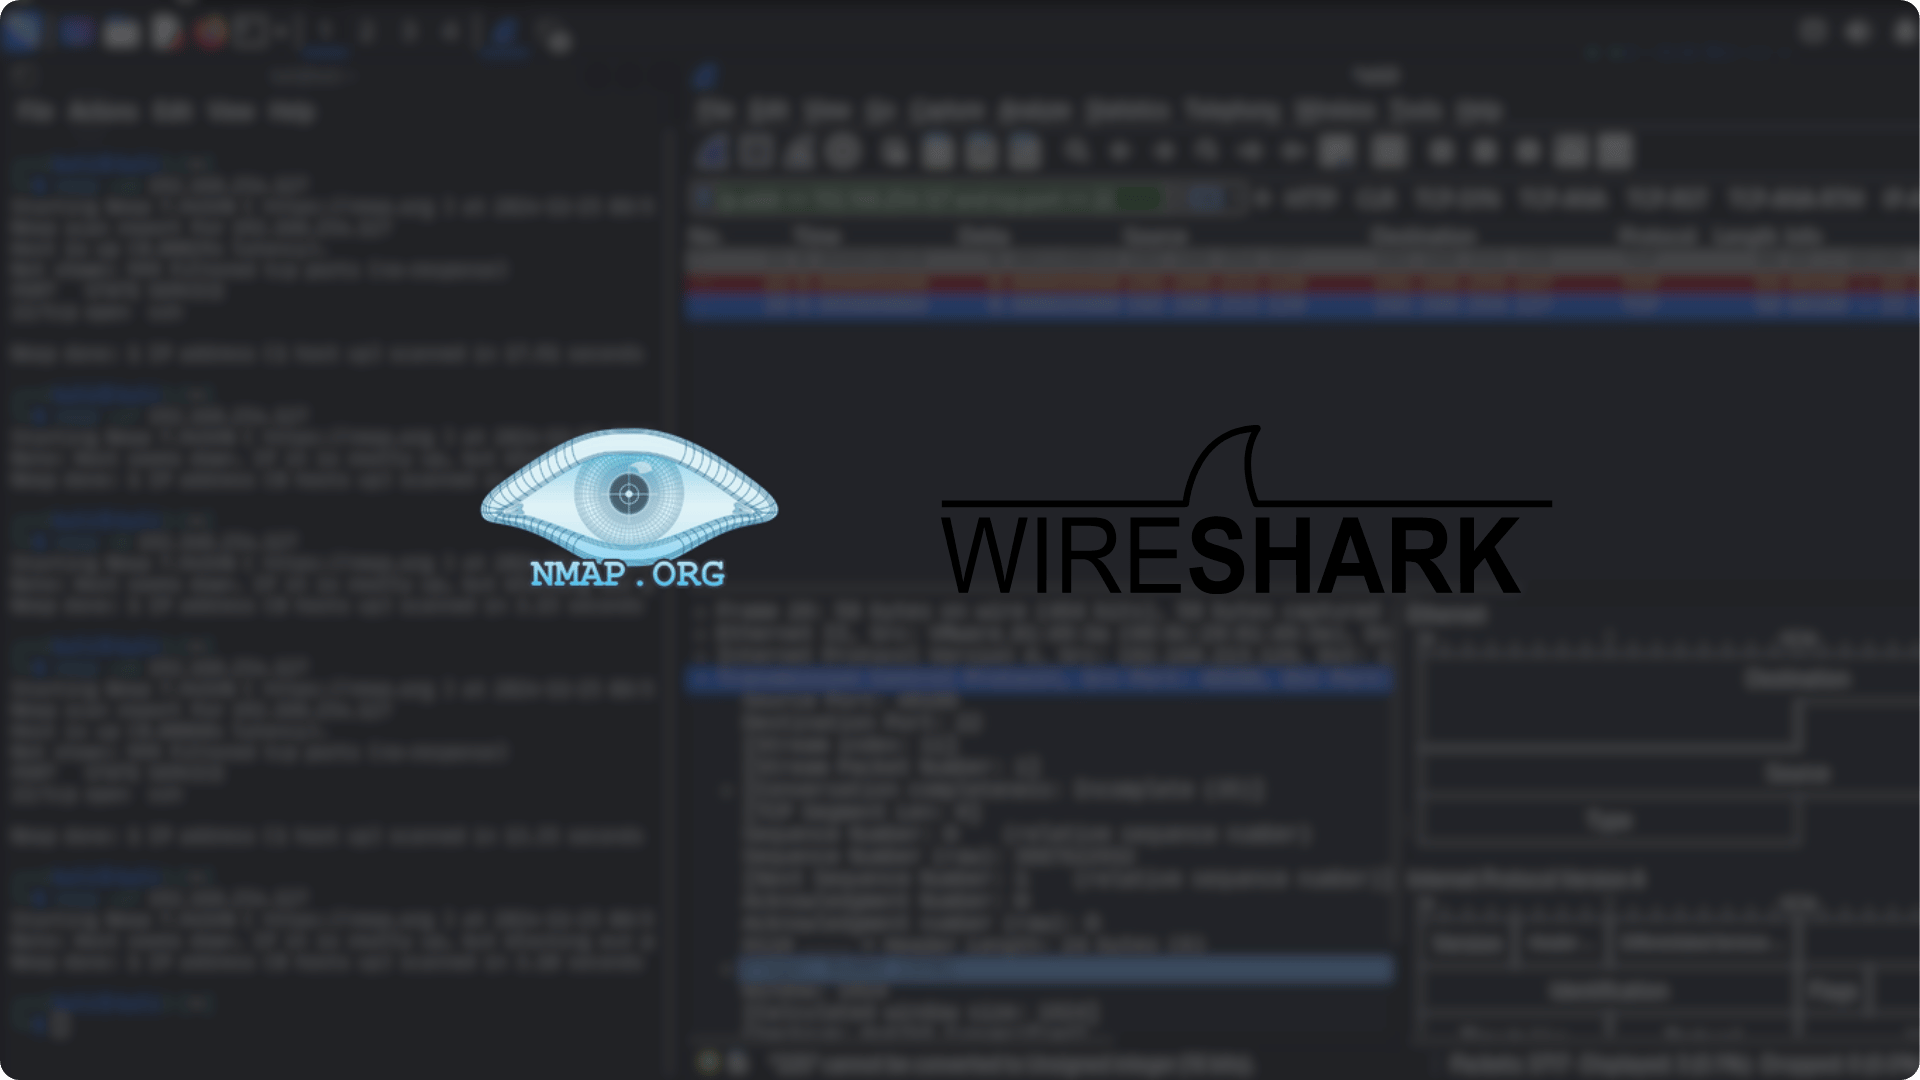
Part 3: Analyzing Traffic with Wireshark
Step 1: Install Wireshark
- Linux (Debian-based):
Bash
sudo apt install wireshark- Windows/(Debian-based): Download from Wireshark's official site.
Step 2: Capture and Filter Traffic
1. Start a packet capture:
- Open Wireshark.
- Select your network interface (e.g., Ethernet or Wi-Fi) and click "Start" to begin capturing network packets.
2. Filter TCP SYN packets:
This filter will show only SYN packets, which are used to initiate a TCP connection. SYN packets are often the first stage of a network scan (e.g., from Nmap).
Bash
tcp.flags.syn == 1 && tcp.flags.ack == 03. Filter traffic from/to a specific IP address:
This filter focuses on packets coming from or going to a specific IP address.
Bash
ip.addr == <target-ip>4. Detect Nmap SYN Scans:
When performing a SYN scan, Wireshark will capture the SYN packets followed by an RST (reset) packet without completing the handshake. This is characteristic of a SYN scan. You can detect this pattern using the following filter:
Bash
tcp.flags.syn == 1 && tcp.flags.ack == 0 || tcp.flags.reset == 1Step 3: Analyze Nmap SYN Scan in Wireshark
- Perform an Nmap SYN scan:
This scan sends SYN packets to determine if a port is open, but it never completes the TCP handshake.
Bash
nmap -sS <target-ip>- What to look for in Wireshark:
- SYN: Nmap sends a SYN packet to initiate the connection.
Filter:tcp.flags.syn == 1 - SYN-ACK: If the port is open, the target machine responds with a SYN-ACK.
Filter:tcp.flags.syn == 1 && tcp.flags.ack == 1 - RST: Nmap then sends an RST packet to abort the handshake.
Filter:tcp.flags.reset == 1
- SYN: Nmap sends a SYN packet to initiate the connection.
Step 4: Analyze Nmap Connect Scan in Wireshark
- Perform an Nmap Connect scan:
This scan completes the full TCP handshake, which is easier to detect since it establishes a full connection.
Bash
nmap -sT <target-ip>- What to look for in Wireshark:
- SYN: The initial packet sent by Nmap.
Filter:tcp.flags.syn == 1 - SYN-ACK: The target's response indicating the port is open.
Filter:tcp.flags.syn == 1 && tcp.flags.ack == 1 - ACK: Nmap completes the handshake by sending an ACK.
Filter:tcp.flags.ack == 1
- SYN: The initial packet sent by Nmap.
Part 4: Advanced Troubleshooting with Dumpcap
What is Dumpcap?
- Dumpcap is a lightweight, command-line version of Wireshark that is designed for capturing packets at a very high speed without the overhead of Wireshark's graphical interface. It’s often used for network troubleshooting and monitoring.
Step 1: Capture Traffic Using Dumpcap
To start a capture with a ring buffer (which keeps the capture files from growing too large), use this command:
Bash
dumpcap -i <interface> -b filesize:100 -b files:10 -w capture.pcapExplanation:
-i <interface>: Specifies the network interface to capture from (e.g., eth0, wlan0, etc.).-b filesize:100: Each capture file will be 100 MB in size.-b files:10: Only the last 10 files will be kept, older files are overwritten.-w capture.pcap: Save the captured packets tocapture.pcap.
To stop the capture manually, press Ctrl + C.
Step 2: Analyze Captured Data
- Open the
.pcapfile in Wireshark. - You can apply filters like
tcp.port == 80to focus on specific traffic (e.g., HTTP). - Look for abnormal patterns like repeated SYN-RST sequences, which can indicate a network scanning attempt.
Step 3: Automate Capture for Troubleshooting
To trigger a packet capture during a specific event (e.g., when accessing a website), you can run:
Bash
dumpcap -i <interface> -w issue_capture.pcapYou can then analyze the capture related to the problematic timestamp.
Conclusion
This guide provided a step-by-step tutorial on using Nmap for network scanning and analyzing traffic with Wireshark. By following these practical steps, you can:
• Perform stealth and full scans with Nmap.
• Detect scans and anomalies using Wireshark filters.
• Troubleshoot network issues with Dumpcap and advanced capture techniques.
Enhance your skills in network security and penetration testing by practicing these tools and methods.
TipPractice Makes Perfect
Try the outlined commands and steps on a test network to gain practical experience with Nmap, Wireshark, and Dumpcap. Always remember to have proper authorization before scanning any network!
CautionYouTube Reference
The content and techniques described here are inspired by the educational resource available on YouTube:
Network Scanning with Nmap & Wireshark - Watch here
This video provides a detailed guide on using Nmap and Wireshark for network scanning and troubleshooting.